We have seen hundreds of DIY (do-it-yourself) attempts go south because a homeowner didn't know where to look or—worse—opened the cap at the wrong time. Let's make sure you aren't one of them.
Table of Contents
- ⚠️ Safety First: Your Pre-Opening Checklist
- Fast Identification: How to Spot Your Cleanout
- What Exactly is a Sewer Cleanout?
- The Search Map: Where is it Hiding?
- DIY Guide: How to Open and Clear the Line Safely
- When to Put Down the Wrench
- Professional Power: Snaking vs. Hydro-Jetting
- Long-Term Maintenance: Keeping the Line Clear
⚠️ Safety First: Your Pre-Opening Checklist
Before you touch a single tool, follow these professional safety protocols:
- Gear up: Put on heavy-duty waterproof gloves and eye protection. Raw sewage carries pathogens.
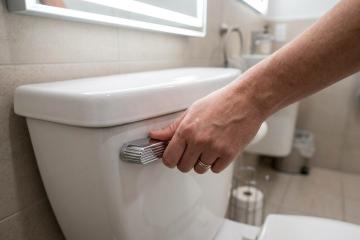
- Stop the flow: Tell everyone in the house NOT to flush toilets or run the dishwasher/washing machine while the cleanout is open.
- Clear the area: Move any rugs or valuables if your cleanout is located indoors.
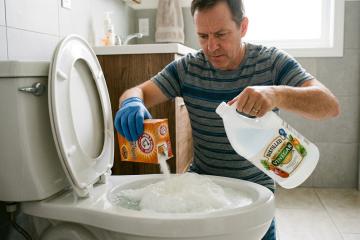
- Check for chemicals: If you recently poured caustic drain cleaners down the sink, do not open the line. These chemicals can cause severe skin and eye burns if they splash back.
Fast Identification: How to Spot Your Cleanout
You are looking for a dedicated access point to your main waste line. Do not overthink it; look for these specific "fingerprints":
- the look: a pipe sticking out of the ground or flush with the floor, capped with a threaded plug.
- the nut: look for a square protruding nut or a recessed slot on the cap.
- the material: usually white PVC (polyvinyl chloride), black ABS (acrylonitrile butadiene styrene) plastic, or old-school grey cast iron.
- the size: typically 3 to 4 inches (76-102 mm) in diameter [1]. Per the International Plumbing Code (IPC), if your main pipe is larger than 4 inches, that cleanout must be at least 4 inches wide to handle professional equipment [7].

Common sewer cleanout caps. If you see that square nut, you've found the "Golden Ticket."
What Exactly is a Sewer Cleanout?
Think of the cleanout as the "front door" to your main sewer line. This is the primary artery that carries everything—sinks, showers, and toilets—out to the city's pipes or your septic tank.
When a total blockage hits, this is where our team goes in. Without a cleanout, a plumber has to pull up your toilets or cut into your walls just to reach the clog. This access point is designed to prevent backflow (water flowing backward into the house) and allow us to use high-pressure tools without ruining your bathroom tile.
The Search Map: Where is it Hiding?
Depending on when your home was built, your cleanout could be in the yard or buried in a closet. Per IPC Section 708.7, these access points should not be more than 100 feet apart [1][7]. Here is where we usually find them:
| Home Type / Location | Typical Spot | Why it's there |
|---|---|---|
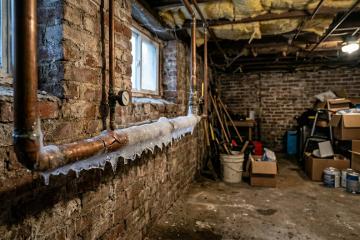
| Modern Slab Home | Basement or Crawl space | Kept inside to prevent freezing |
| Older Home (Pre-1970s) | Outside, 1-2 feet from the foundation | Easy access for the "snake" |
| Large Property | Near the Curb or Property line | Marks the hand-off to the city |
| Multi-story | Inside a utility room or closet | Access for upper-floor branch lines |
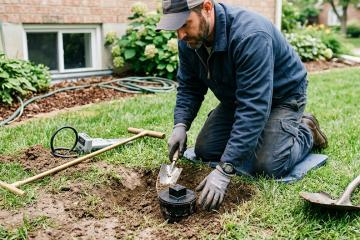
Pro Tricks for Finding a Buried Cleanout
If your cleanout is buried under mulch or dirt, don't start digging random holes. We recommend these steps:
1. Read the Curb: Look for a stamped "S" or "C" on the concrete curb. That is the city telling you exactly where your line exits.
2. Follow the Stack: Find the big vertical vent pipe on your roof. The cleanout is almost always in a straight line from where that pipe exits the foundation.
3. The Probe Method: Take a metal rod and gently poke the soil in that "straight line." You will hear a "clack" when you hit the plastic or metal cap.
4. Metal Detectors: A mid-range detector can find a cast iron cap 12 to 18 inches down. If it's deeper, we use professional "two-box" locators that can see 20 feet deep [2].
5. Check the Paperwork: Your local Building Department keeps "as-built" plans. It is a map of your own yard's plumbing.
What if you still can't find it? In some older homes, a cleanout might simply not exist, or it was paved over during a renovation. If you've followed the line and found nothing, you'll need a professional camera inspection to locate the pipe and potentially install a new access point.
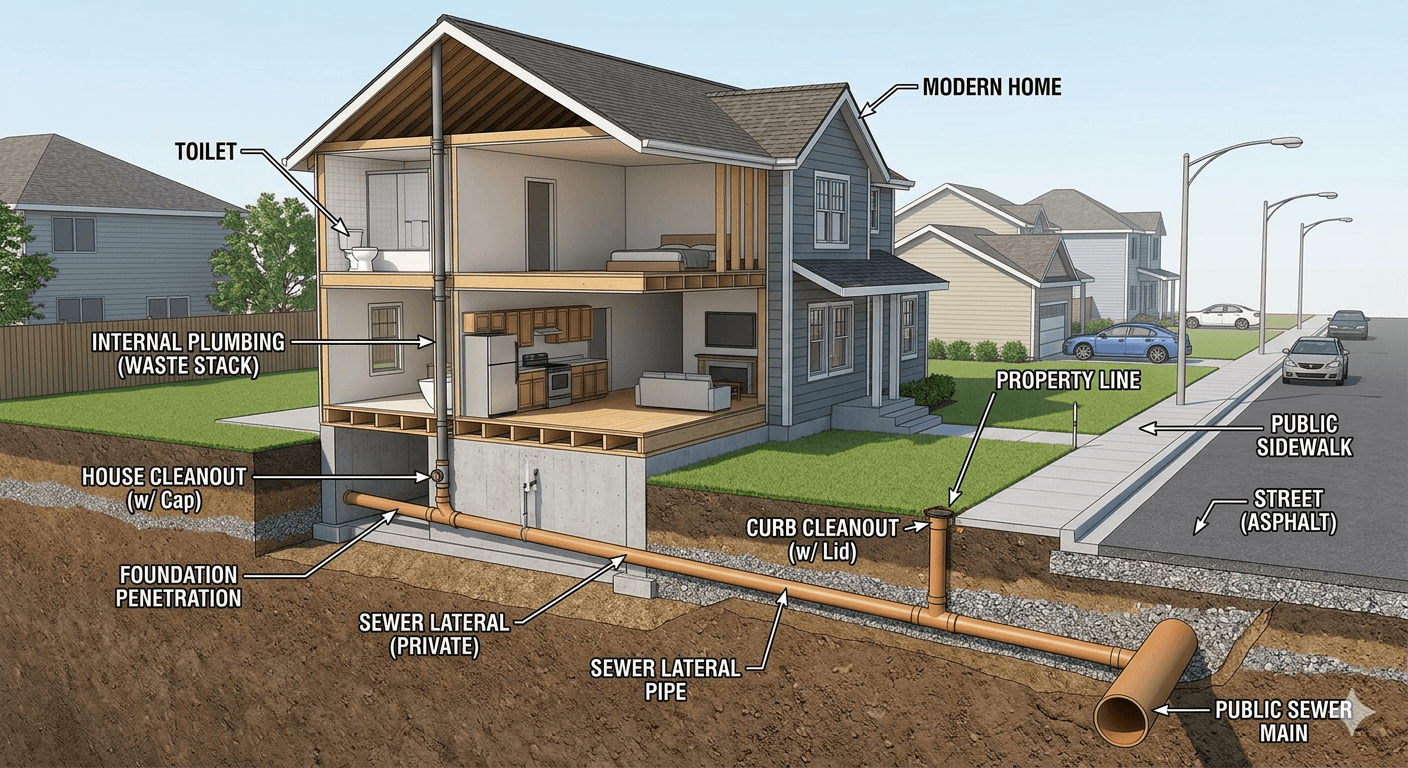
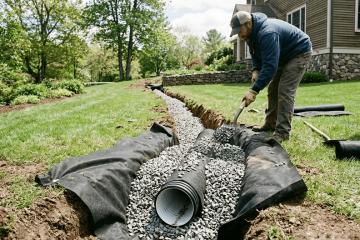
The typical path of your home's waste line.
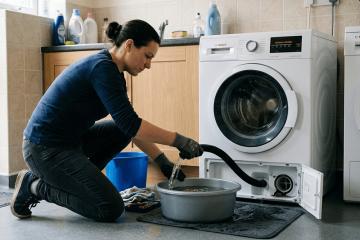
DIY Guide: How to Open and Clear the Line Safely
Once you've located the cap, it's time to work. Remember: this isn't just water; it is raw sewage.
The Survival Kit:
- Pipe wrench (the bigger, the better).
- Plumbing snake (manual or motorized).
- A bucket and rags (trust us, you'll need them).
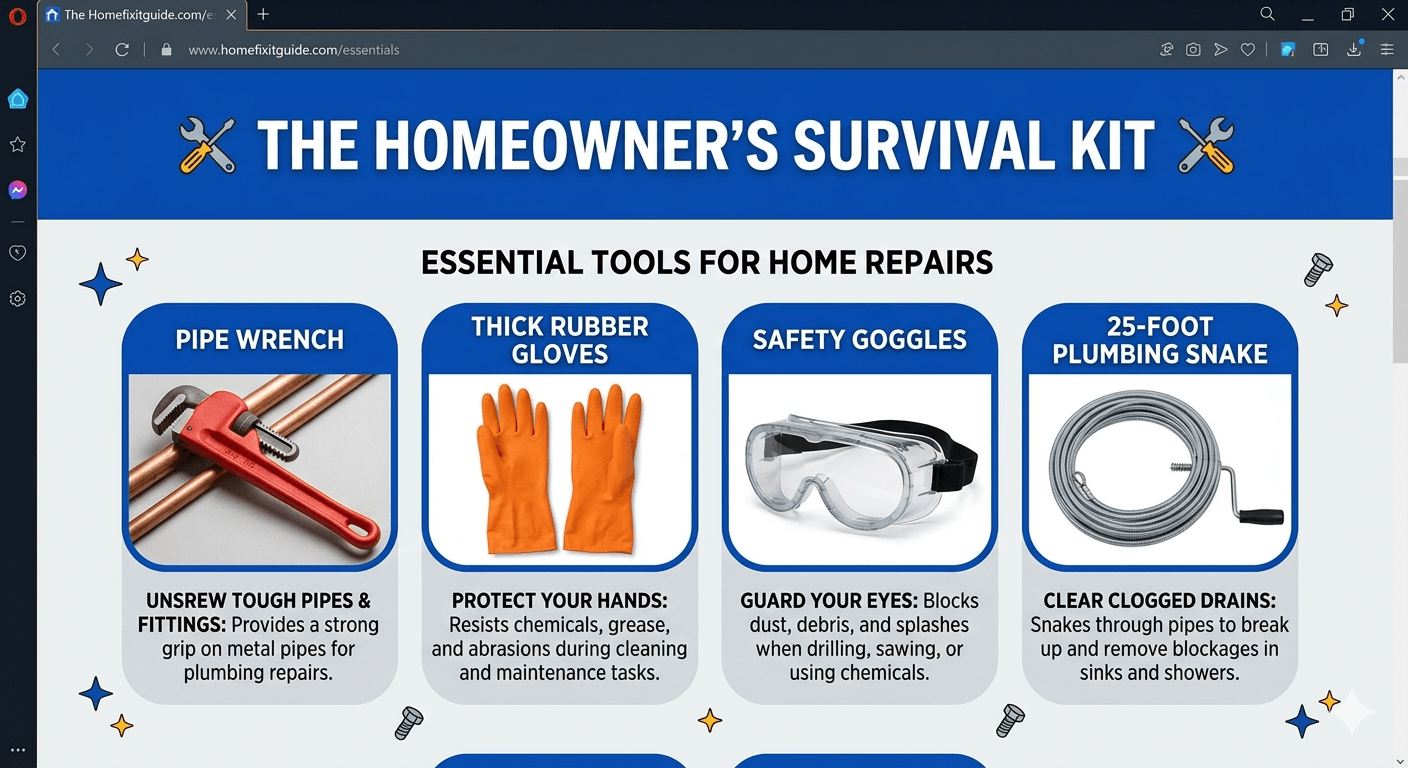
Don't start the job without these four essentials.
Step-by-Step Clearing:
1. The Slow Turn: Use the wrench to turn the cap counter-clockwise. Stop immediately if water starts seeping out (see the "Fountain Test" below).
2. Feed the Snake: Push the plumbing snake into the pipe until you feel the "wall." Most DIY snakes are only 25 feet long [3]. If the clog is further out, you are going to need a pro with a 100-foot cable.
3. Break it Up: Rotate the snake to chew through the blockage.
4. The Flush: Once it clears, run a garden hose into the cleanout to make sure the water stays down.
5. Seal and Document: Clean the threads, screw the cap back on tightly, and take a photo of the location for future reference.
⚠️ WARNING: The "Fountain" Test
If you loosen that cap and water starts spraying out like a geyser, tighten it back up immediately. This means the backup is so severe that the water level is higher than the cleanout. If you take that cap off entirely, you will flood your yard or basement with raw sewage in seconds. Stop and call us—this requires a controlled drain.
When to Put Down the Wrench
We love a proactive homeowner, but some fights you simply cannot win with a 25-foot retail snake. Call a professional if:
- Your snake reaches its full length (25 feet) and still hasn't hit the clog [3].
- You suspect tree roots have broken the pipe—a common issue in Florida.
- The backup returns every few weeks [4]. This usually indicates your pipe has "bellied" (sagged) or collapsed.
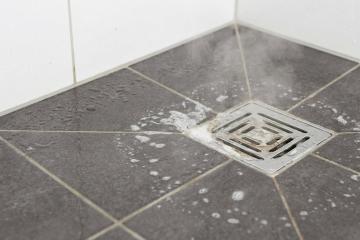
- Sewage is already inside: If waste is coming up through your bathtub or shower, skip the DIY and call for emergency help immediately.
| Service | DIY Cost | Pro Cost |
|---|---|---|
| Basic Clearing | $20 - $100 | $150 - $800 |
| Hydro-Jetting | N/A | $250 - $1,400 |
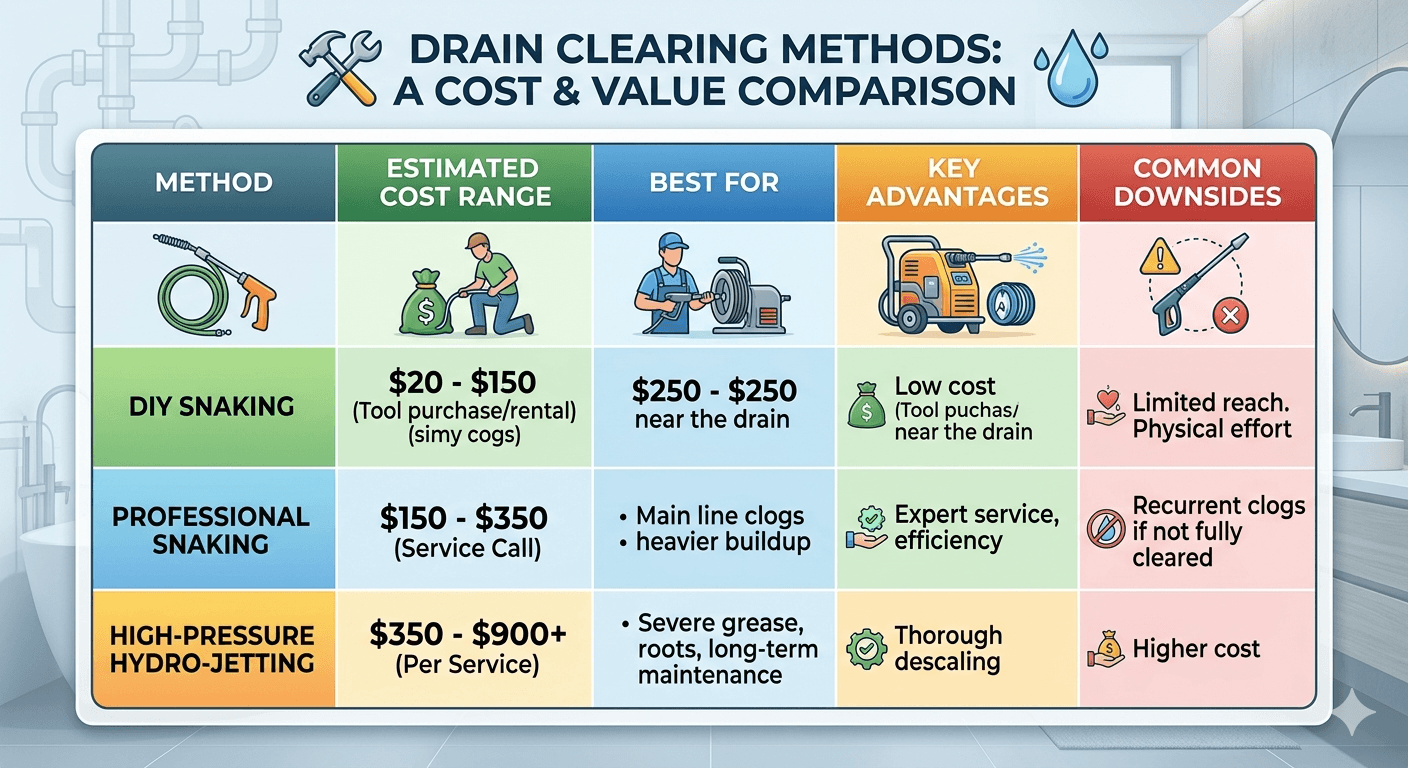
Investing in a professional clear-out can save you thousands in future pipe repairs.
Professional Power: Snaking vs. Hydro-Jetting
When we show up, we usually choose between two "heavy hitters":
1. The Electric Auger: A high-torque motor spins a steel cable with a "C-cutter" head. It is excellent for punching through solid clogs.
2. Hydro-Jetting: We blast the pipe with water at 1,500 to 4,000 PSI (pounds per square inch) [3]. It doesn't just poke a hole; it scours the walls clean of grease and scale. Pro Tip: We never go over 5,000 PSI on older homes, or we risk shattering the pipes [6].
Long-Term Maintenance: Keeping the Line Clear
- No "Flushable" Wipes: They are not flushable. Period. They sit in the line and catch other debris.
- Stop the Grease: Pouring fats, oils, and grease (FOG) down the drain is like giving your pipes a heart attack.
- Root Control: If you have trees near the line, use a copper sulfate inhibitor once a year to kill off invading roots.
- Respect the Access: Do not build a deck or patio over your cleanout. If you hate the look, use a hollow "fake rock" cover that can be moved in seconds.
- Know the Law: Generally, you own the line from your house all the way to the city main [5]. If it breaks on your property, the repair cost is your responsibility.
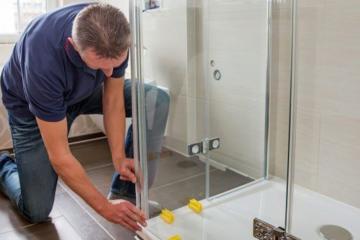
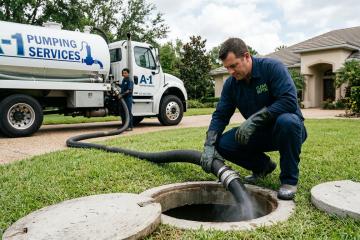
Watch how the pros handle a heavy-duty snake without damaging the pipes.
Dealing with a main line backup is a high-stress situation, and we know exactly how it feels to see water rising where it shouldn't. But remember: you've already done the hardest part by finding the access point and understanding the risks. Whether you clear it with a snake or realize it's time to call in the heavy machinery, you're taking control of your home's health. Stay safe, keep your boots on, and if the water starts pushing back—we're only a phone call away.
References
[1] PHCP Pros: Code Requirements for Cleanouts — https://www.phcppros.com/articles/1902-code-requirements-for-drainage-system-cleanouts
[2] Modern Metal Detectors: Depth Analysis — https://modernmetaldetectors.com/blogs/news/how-deep-can-you-go-with-a-metal-detector
[3] Spartan Tool: Jetting Pressure and Flows — https://spartantool.com/informationcenter/resources/sewer-jetting-pressure-and-flows
[4] Angi: Main Sewer Line Costs — https://www.angi.com/articles/cost-to-clear-a-main-sewer-line-clog.htm
[5] Sewer Pros: City vs. Homeowner Responsibility — https://sewerpros.com/when-is-the-city-responsible-for-sewer-line/
[6] Clee Services: Hydro-Jetting Damage Thresholds — https://cleeservices.com/how-much-psi-is-too-much-understanding-hydro-jetting-pressure-levels/
[7] International Plumbing Code (IPC) Standards — https://codes.iccsafe.org/content/IPC2021P1
![Sewer Line Cost [2026]: How Much to Install or Replace?](/assets/components/phpthumbof/cache/intro-how-much-does-sewer-line-replacement-cost.1ffc2261302128f1b93862c056de123d.jpg)