If you are standing in your bathroom with a phone in one hand and a bucket in the other, stop. Before we try to force a flush, we need to make sure we aren't about to make a mess that costs more than your monthly mortgage.
Table of Contents
- SOS: Read This Before You Pour a Single Drop
- The Right Tool for the Job
- Method 1: The Gravity Flush (The "Power Pour")
- Method 2 & 3: Inside the Tank (Flappers and Recharges)
- Critical Safety: Don't Crack Your Throne
- Video Tutorial: Watch the Master at Work
- When to Call a Pro: The "Line in the Sand"
- Mission Accomplished: Your Final Checklist
- References
SOS: Read This Before You Pour a Single Drop
1. Stop pumping that handle. If the water is already near the rim, another attempt is a recipe for a ruined floor.
2. Check the bowl level. If the water is sitting still and high, don't add more. You have a blockage, not a flush problem.
3. Kill the water supply. Look behind the toilet for the silver shut-off valve. Turn it clockwise until it stops. In our humid Miami climate, these valves often suffer from salt air corrosion and mineral buildup. Turn it firmly, but don't snap the stem.
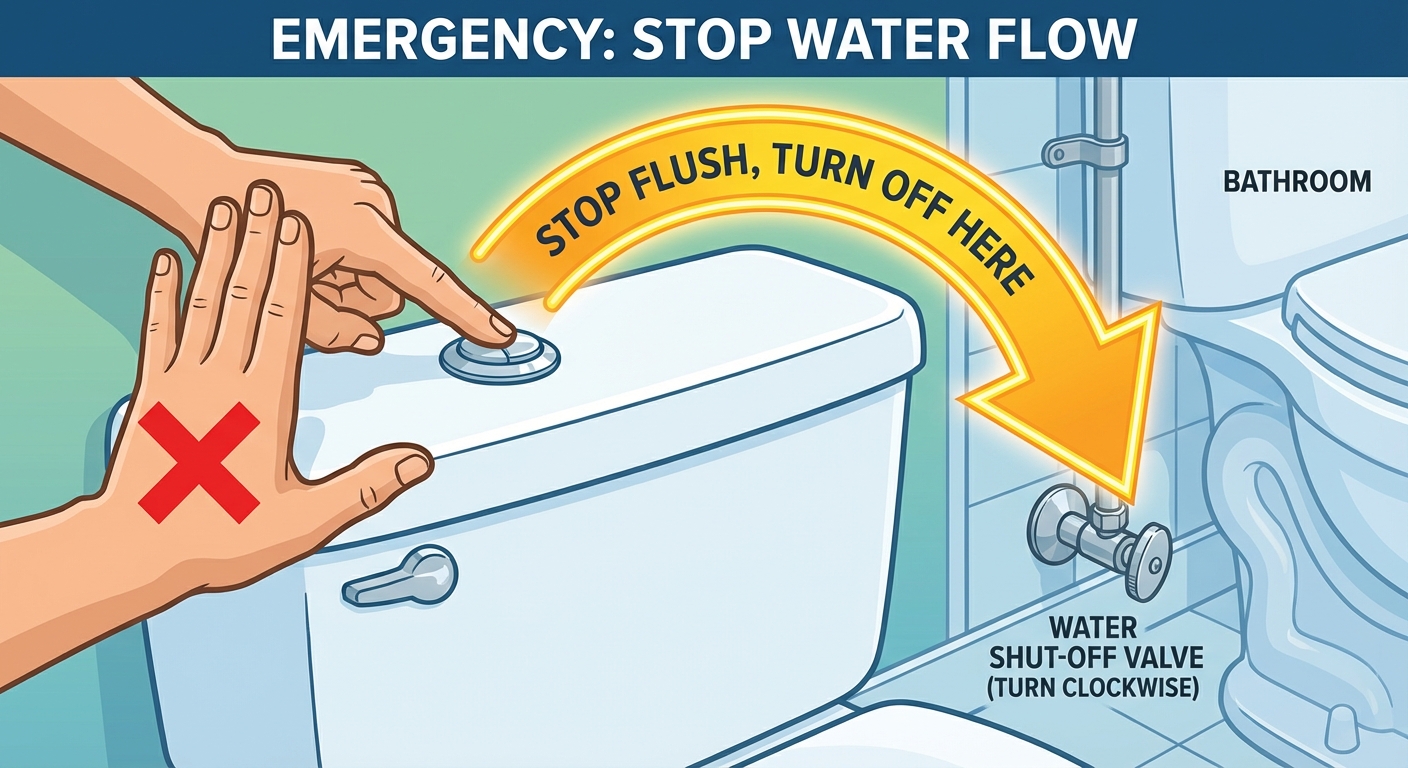
Step 0: Kill the water at the source before you end up with a lake in your bathroom.
The Right Tool for the Job
We’ve spent 20 years clearing drains from Coral Gables to Hialeah, and we can tell you: every "manual flush" is just a way to trigger the siphon effect (the suction that clears the bowl) without using the handle.
| If your situation is... | Use this method... | Effort level |
|---|---|---|
| Handle is broken / Tank is full | Method 2: The Flapper Lift | Low (2 mins) |
| Water is out (Hurricane/Repair) | Method 1: The Power Pour | Medium (5 mins) |
| Toilet is empty / Tank won't fill | Method 3: The Tank Recharge | Medium (10 mins) |
Method 1: The Gravity Flush (The "Power Pour")
This is pure physics. To get a flush without a working handle, you need to dump enough water fast enough to create a pressure drop in the "trap" (the S-shaped pipe under the bowl).
Step 1: Prep Your "Fuel"
Grab a 2-gallon (7.5 liters) bucket. You need about 1.6 gallons (6 liters) for a modern toilet or 1.28 gallons (4.8 liters) if you have a high-efficiency WaterSense model [1].
Field Note: If you’re dealing with a lot of paper, we recommend flushing in stages. Our team's experience shows this significantly cuts the risk of an immediate secondary clog.
Step 2: The Technique
It’s not about how much water you use; it’s about how fast it hits the drain.
1. Hold the bucket about 12–15 inches (30–40 cm) above the bowl—roughly level with the top of the tank [2].
2. Aim for the "well" (the hole at the bottom).
3. Pour it in one aggressive, continuous motion. Don't spray the sides; you need that concentrated weight to "push" the waste through.
Step 3: Listen for the "Gulp"
If the technique worked, you’ll hear that satisfying suction sound. If the water just rises and stays there, you’ve got a clog in the main line, and no amount of pouring will fix it.
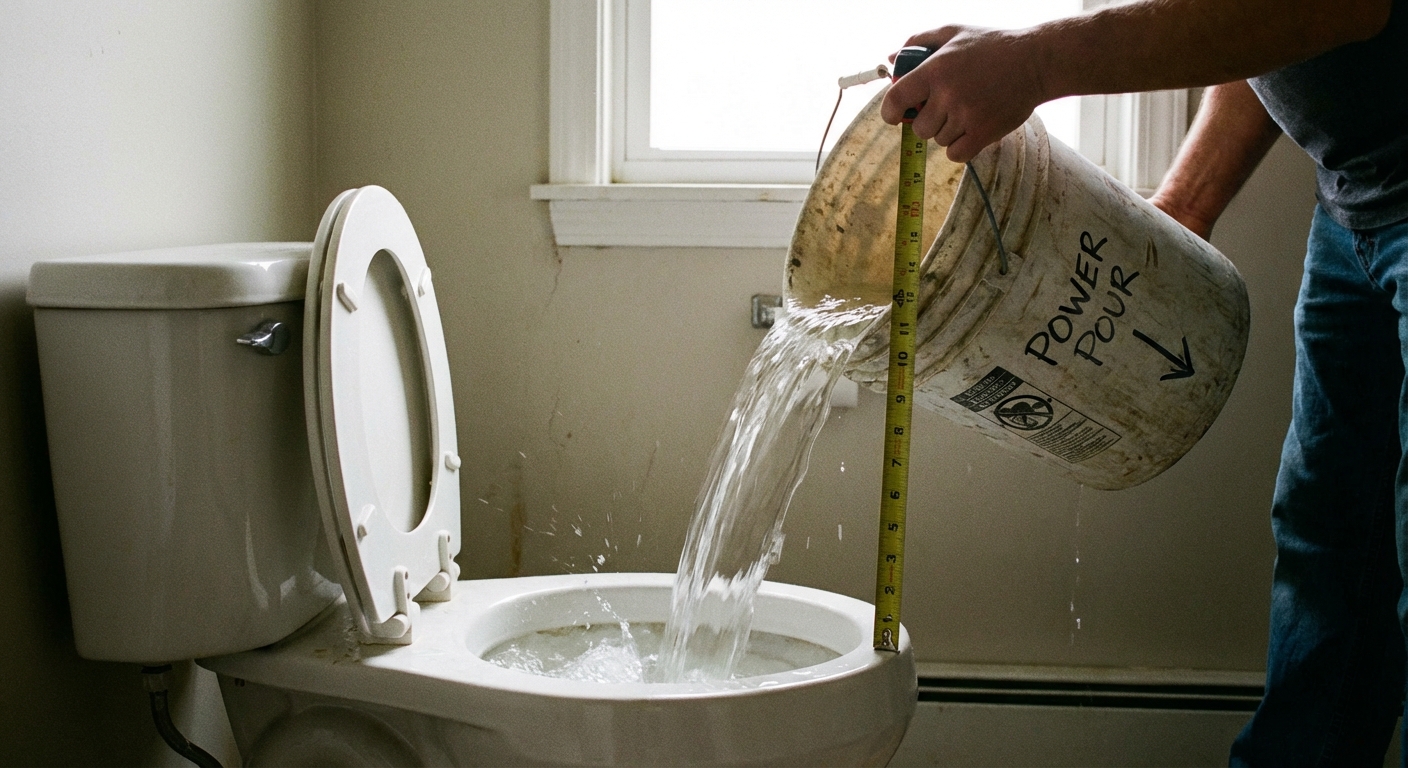
Speed is key. A slow pour won't trigger the siphon; you need a heavy, fast stream.
Method 2 & 3: Inside the Tank (Flappers and Recharges)
If your handle feels "loose" or the button does nothing, the problem is likely inside the tank.
Accessing the System
Carefully lift the tank lid. Set it on a rug or towel—these porcelain lids are heavy, fragile, and very expensive to replace. Once the lid is off, you’ll see the "guts" of the toilet.
The Flapper Lift (If the tank is full):
Look for the Flapper. It’s the rubber plug at the bottom. In most quality setups, it’s bright red and made of silicone to resist our local hard water [3]. Reach in (the water in the tank is clean, don't worry) and pull the edge of that flapper up. The water will rush into the bowl and trigger a standard flush.
The Tank Recharge (If the water is out):
If a hurricane or a broken city main has cut your water off, you can still use the toilet by "recharging" the tank manually.
1. Pour water into the tank until it reaches the top of the overflow tube (the open pipe in the middle).
2. Don't go over the top of that tube, or the water will just leak out into the bowl [5].
3. Flush using the regular handle.
What kind of water can you use?
In an emergency, "grey water" works fine. Rainwater from a barrel or even pool water is okay for a few flushes. Just be careful: South Florida water is notoriously hard. If you use pool water long-term, the high salt and chlorine concentrations will eventually chew through your porcelain’s glaze and the rubber seals [5].
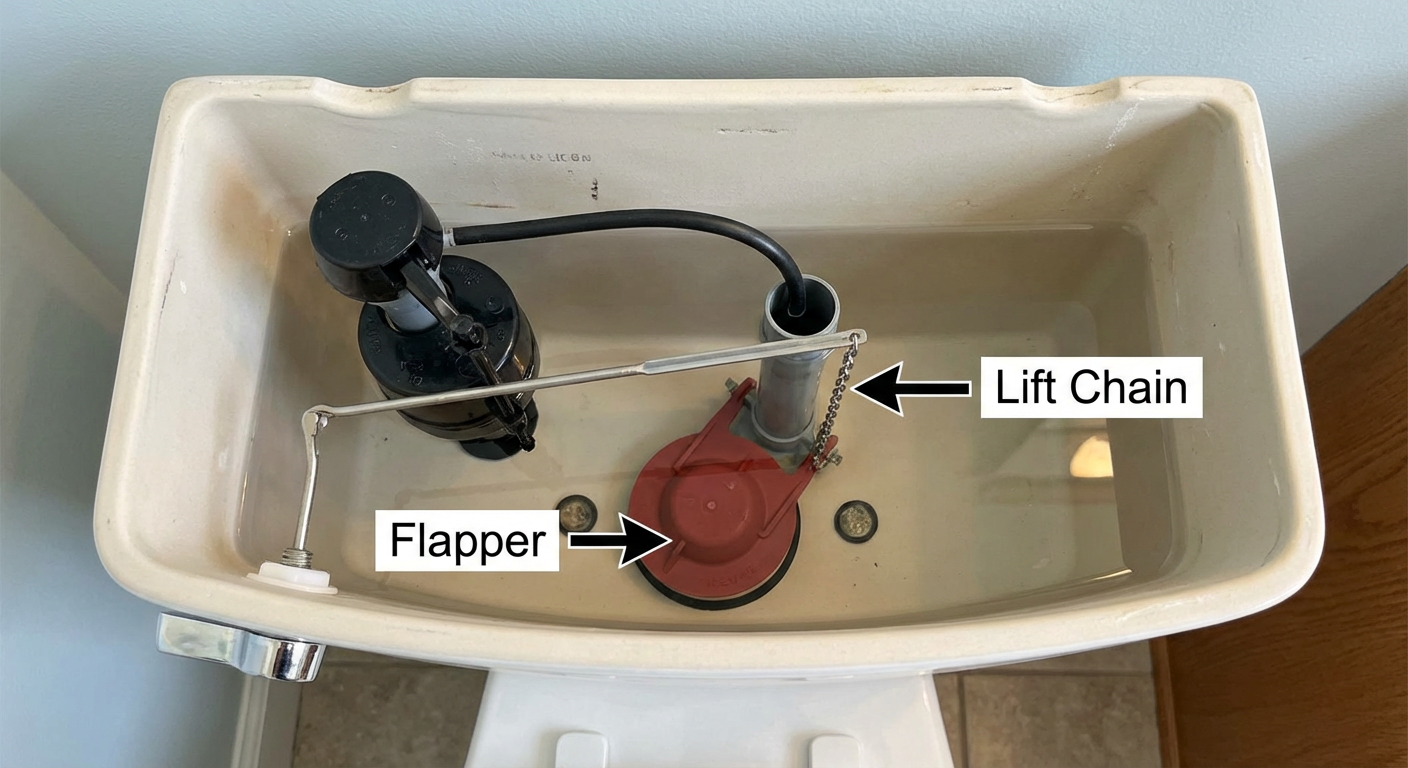
The Anatomy of a Flush: Just lift the red flapper to start the cycle manually.
Critical Safety: Don't Crack Your Throne
We’ve seen homeowners ruin a $400 toilet in five seconds by trying to be "extra clean." Please follow these rules:
🚫 NO BOILING WATER. This is the most common mistake. Porcelain cannot handle "Thermal Shock." If you pour boiling water into a room-temperature bowl, the material stress will crack the porcelain instantly [4]. Now you have a flood and a broken toilet.
🚫 NO CHEMICALS IN A CLOG. If the water isn't moving, don't pour harsh acids or drain cleaners in there. It’ll just sit, eat your pipes, and potentially splash back and burn someone when we try to snake the drain later.
🚫 DON'T YANK THE LEVER. Most modern tank components are plastic. If it doesn't move with a light touch, something is caught. Forcing it will just snap the handle.
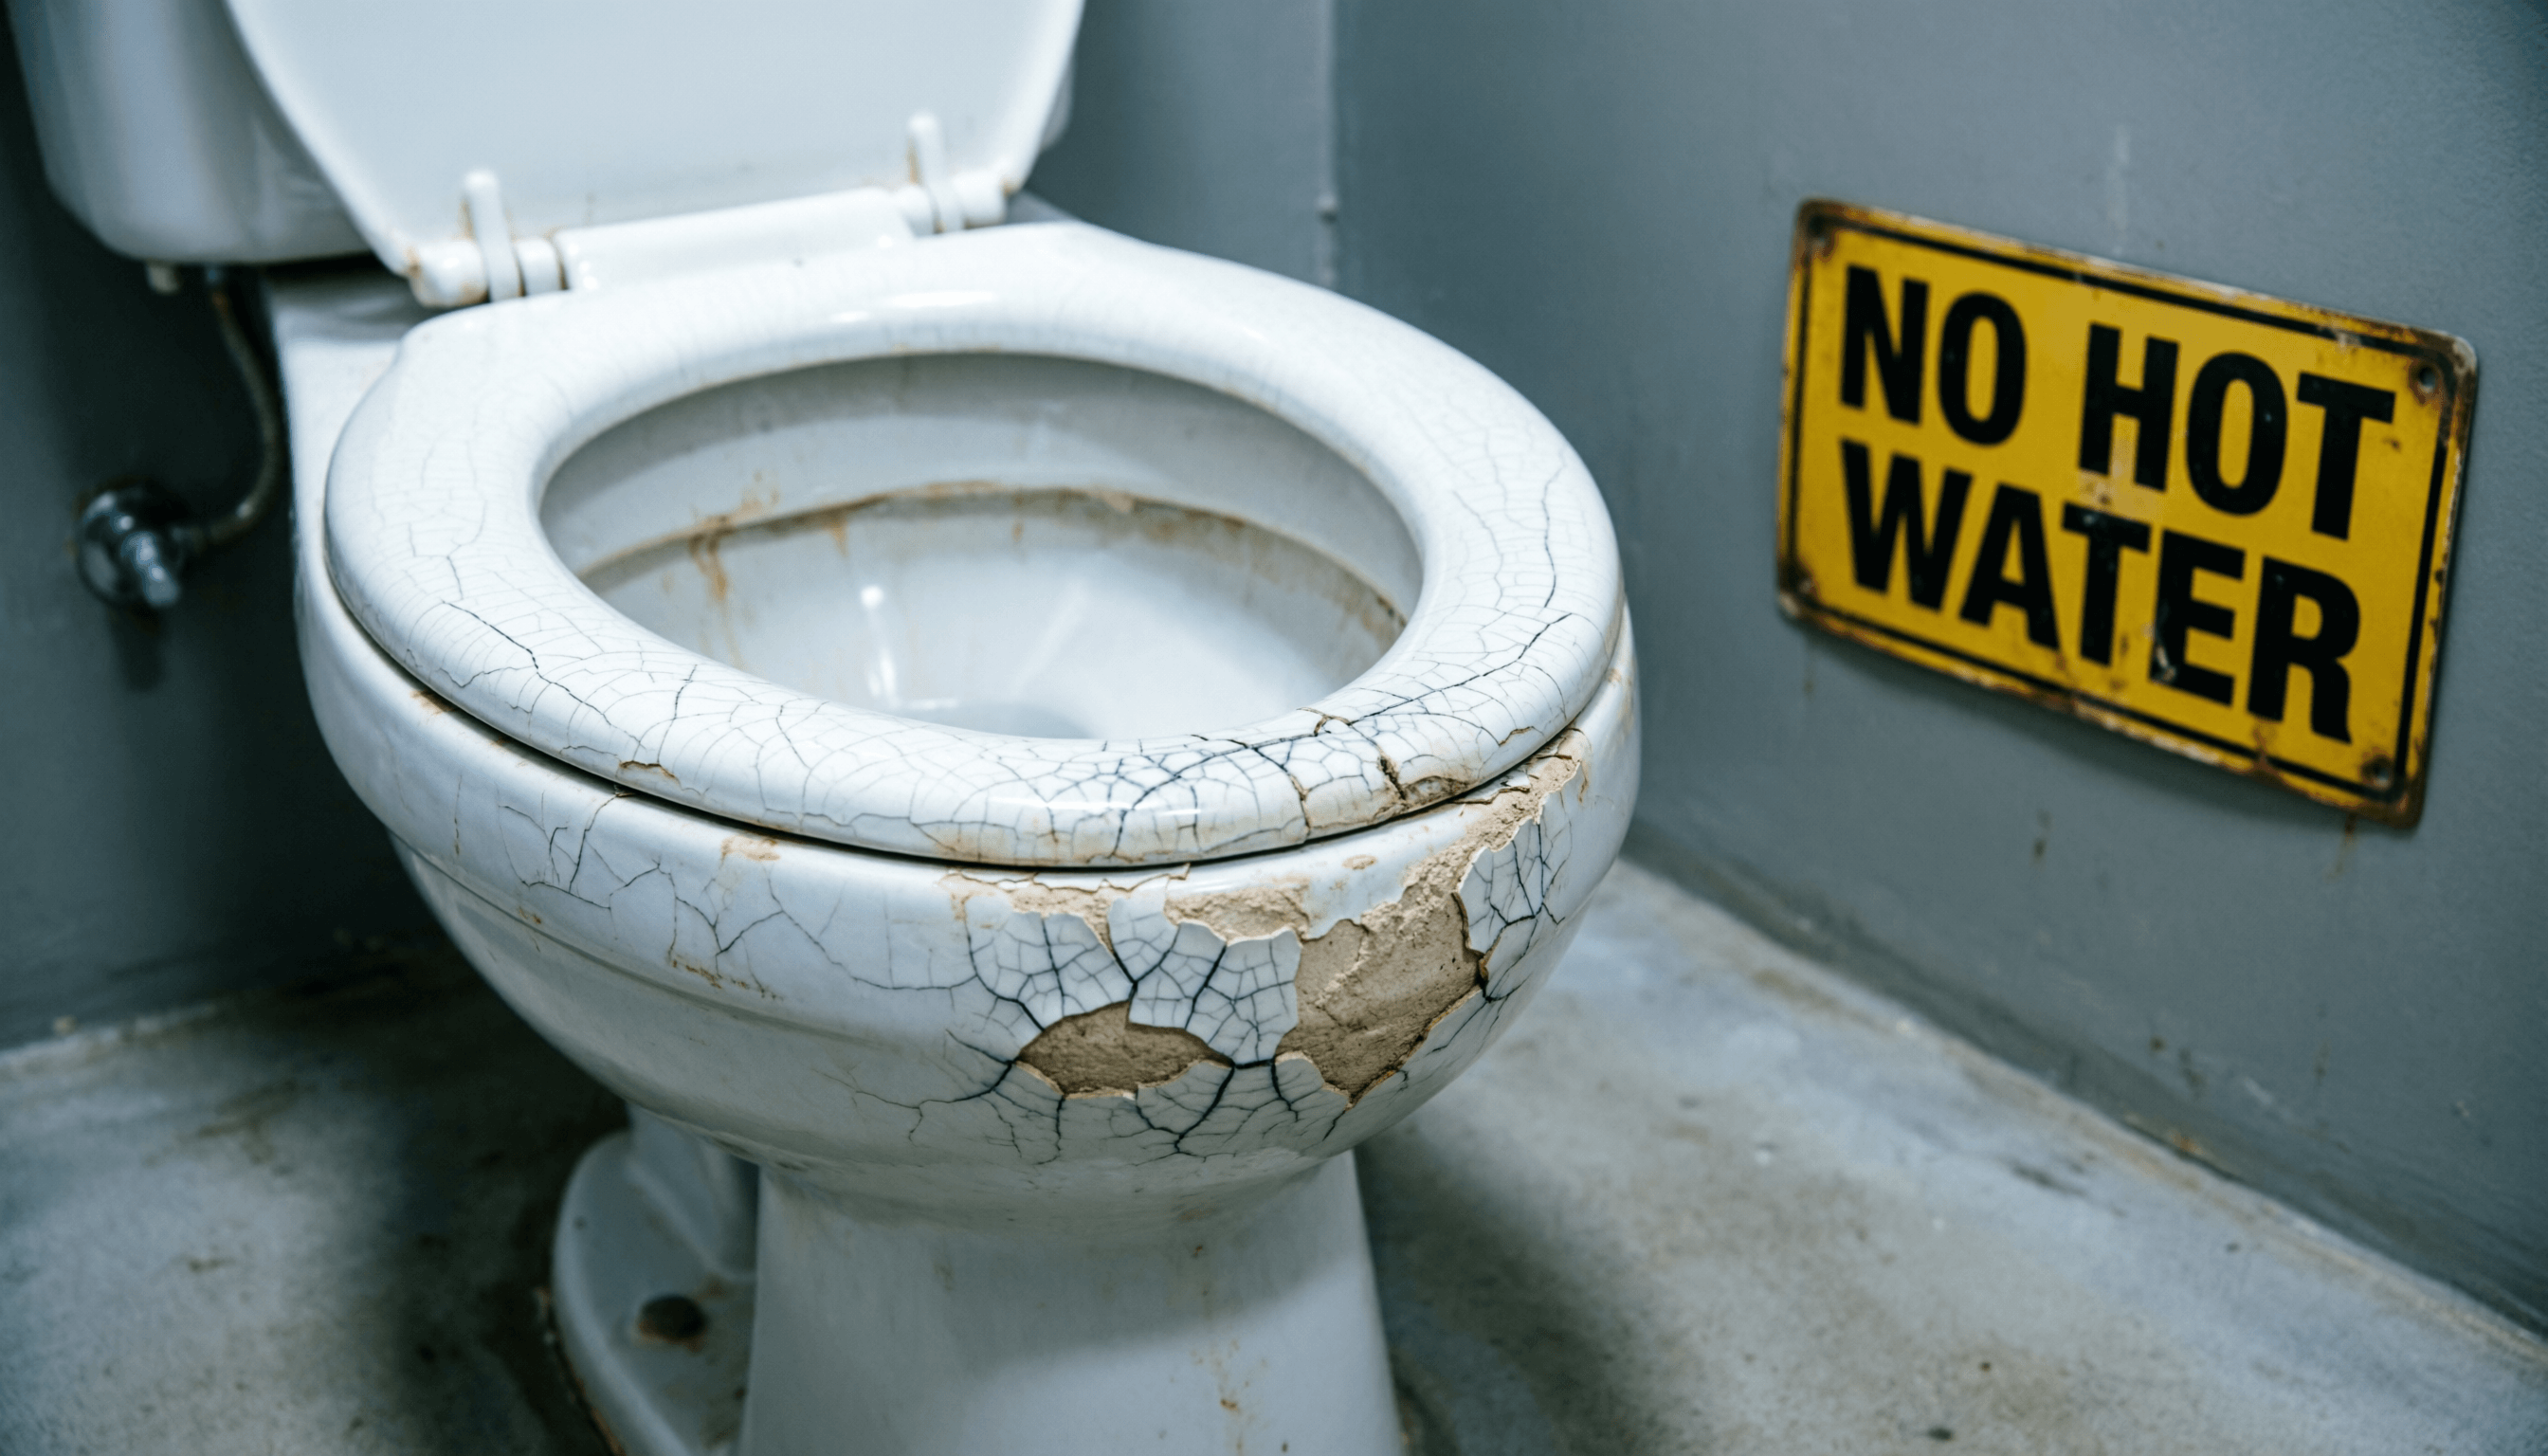
Boiling water + Cold porcelain = A very expensive crack. Stick to room-temp water.
Video Tutorial: Watch the Master at Work
See the "Power Pour" in action with this 60-second walkthrough.
When to Call a Pro: The "Line in the Sand"
We are all for DIY, but some things are above your pay grade. Call a licensed plumber if you see:
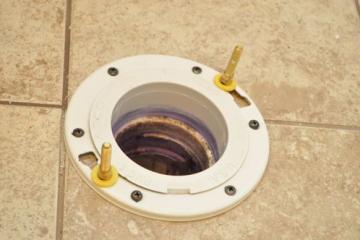
1. The "Wet Foot" (Base Leak): If water seeps out from the floor every time you flush, your wax ring is finished. Ignoring this will rot your subfloor.
2. The Spiderweb (Cracks): If you see a crack in the porcelain, it’s a ticking time bomb. Porcelain units usually last 20–30 years; if yours is older and showing wear, it’s time for an upgrade [6].
3. The Gurgle (Sewage Backup): If you flush and water comes up in the shower or sink, you’ve got a main line blockage. Put the bucket down and call us immediately—that’s a biohazard.
Mission Accomplished: Your Final Checklist
- [✔️] Does the water drain completely with a "gulp"?
- [✔️] Is the floor around the base bone-dry?
- [✔️] Did the flapper seal tightly (no hissing sounds)?
- [✔️] Is the shut-off valve back in the "Open" position?
Mission accomplished. If it’s still acting up, you know who to call.
At the end of the day, a toilet that won't flush is more than just an inconvenience—it’s a reminder of how much we rely on the hidden systems of our homes. Whether you're bracing for hurricane season or just dealing with a stubborn handle, remember that most plumbing issues have a logical, calm solution. You’ve got the steps, you’ve got the bucket, and you’ve got the knowledge to keep your home dry and functional.
But if the "gulp" doesn't happen, or if the water starts rising where it shouldn't, don't sweat it. We’ve spent decades in the trenches so you don't have to. Sometimes the best tool in your kit is knowing when to put down the wrench and call in the team that lives and breathes this stuff. Stay dry, Miami.
References
[1] EPA WaterSense Specification for Tank-Type Toilets — https://www.epa.gov/watersense/residential-toilets
[2] Standard Toilet Dimensions and Installation Heights — https://www.homedepot.com/c/ab/standard-toilet-dimensions/9ba683603be9fa5395fab901100006a
[3] Toilet Flapper Material and Color Standards — https://www.fluidmaster.com/toilet-repair-guide/toilet-flappers-guide/
[4] Material Stress and Thermal Resistance in Sanitary Ceramics — [Expert Field Data]
[5] Maintenance and Clog Prevention Statistics — [Internal Plumber Case Studies]
[6] Lifespan of Sanitary Ware: Porcelain vs Ceramic — https://www.yidabath.com/comparison-2025-report